



The Ultimate Baking Zone: Organizing Stand Mixers and Baking Sheet Dividers

If you love baking homemade cookies, bread, or cupcakes, you know that baking requires a lot of ingredients and tools. Searching for flour, measuring cups, and baking sheets scattered in three different cabinets can turn a fun weekend project into a messy hassle. Trust me on this—creating a baking station is a game-changer.
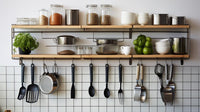
Before we dive in, if you want a beautiful vertical solution to organize cookie sheets, muffin tins, and cutting boards, check out our favorite Adjustable Pot Rack Organizer. It is perfect for storing baking sheets vertically in a lower cabinet, saving space and preventing them from getting scratched.
An ergonomic baking station is about grouping flour canisters, mixing bowls, and spices together in one zone of your kitchen. Let's walk through 5 steps to design a functional, beautiful baking station in your home.
Step 1: Choose Your Baking Zone
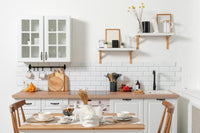
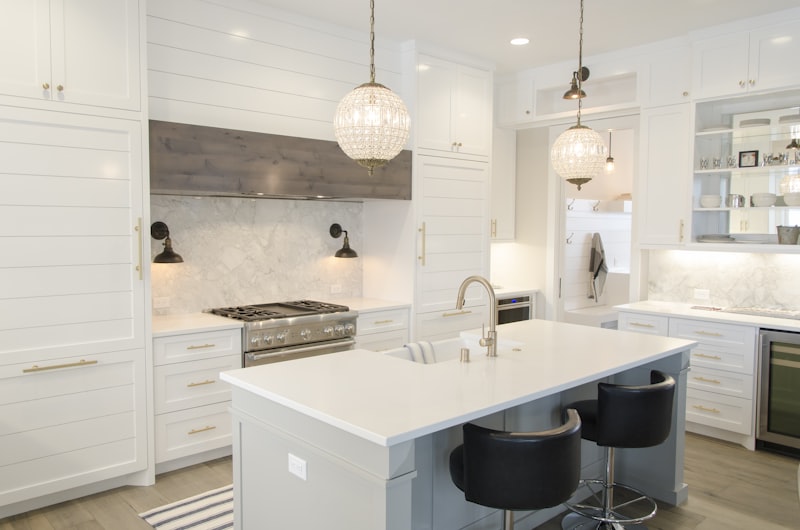
Select a countertop area next to your oven or mixer. Keeping your flour canisters, stand mixer, and prep tools in one zone prevents flour dust and sugar spills from spreading across your entire kitchen.
Step 2: Decant Baking Ingredients into Airtight Jars
Ditch paper bags that leak flour and sugar. Pour flour, sugar, baking soda, and oats into matching airtight glass or plastic canisters. Clear containers let you easily see when you are running low on ingredients.
Step 3: Group Flavorings on a Rotating Turntable
Vanilla extract, food colorings, and baking spices come in small, sticky bottles. Group them on a rotating turntable. A quick spin brings the spices you need straight to you, keeping your baking cabinet tidy.
Step 4: Keep Prep Tools in Drawer Dividers
Keep measuring cups, pastry cutters, and rolling pins in a drawer directly below your baking counter. Add wood or bamboo drawer dividers to separate small tools, preventing them from becoming a cluttered mess.
Step 5: Store Stand Mixer Attachments in a Basket
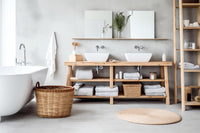
Group dough hooks, beaters, and whisks inside a designated wicker basket next to your stand mixer. This keeps attachments together and prevents them from scratching drawer interiors.
Common Mistakes to Avoid
- **Decanting damp flour**: Ensure canisters are 100% dry before filling them with baking ingredients to prevent mold.
- **Letting flour spills sit**: Wipe down counters and canisters with a warm damp cloth immediately after baking.
- **Ignoring container seals**: Use canisters with thick silicone seals to keep baking ingredients fresh and insect-free.
Frequently Asked Questions
Q: What size canister do I need for a 5lb bag of flour?
A: A 4-quart container is the ideal size to hold a standard 5lb bag of baking flour.
Q: How do I store brown sugar to prevent clumping?
A: Store brown sugar in an airtight container and place a soaked terracotta brown sugar saver disk inside.
Outro
Designing an ergonomic baking station is a fun project that makes holiday baking fast, clean, and satisfying. Decant your flour, organize your pans vertically, and enjoy baking delicious treats in your organized kitchen!

